How Easy is It to Install Pickups
In this article, we'll show you how to change guitar pickups, and take all the fear out by giving you two easy methods.
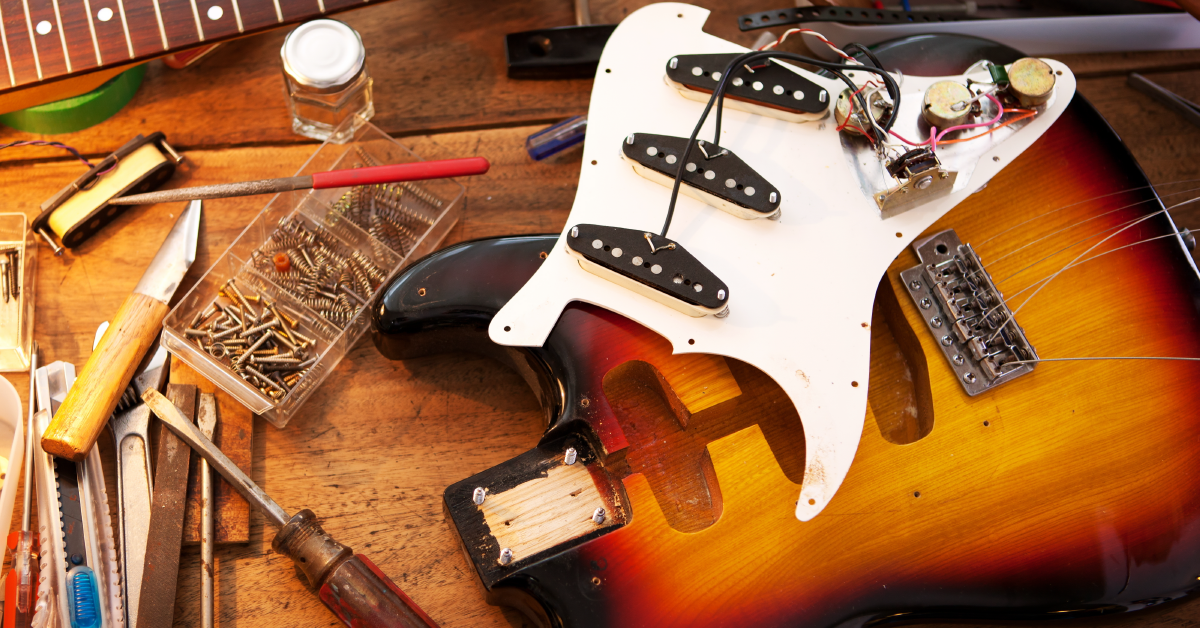
Practically every guitar player considers installing their own pickups at one time or another. But, when we open the back of our guitars and see a tangled mess of wires, we chicken out. Your guitar's pickups are the first link in your signal chain and play a tremendous role in your tone.
The two best guitar pickup installation methods are to start with a color code chart or a wiring diagram from the guitar pickup's manufacturer. Before installing guitar pickups, read through both ways before picking one. If you start with the color code method and start running into issues, try the wiring diagram method.
- Install guitar pickups using the color code method
- Install guitar pickups using the wiring diagram method
- Find the right wiring diagram for your pickups
- Installing the pickups
- Adjust the pickup height
The first way of learning how to install guitar pickups is by using the color scheme of the pickup and guitar wires. Every brand of pickup uses a different color scheme for each wire. For example, the hot output (North Star) on a Seymour Duncan pickup is a black wire, but on a Fender, it's green. The best way to handle this is to draw yourself a chart with each pickups' wires on the sides and their labels in the middle. Here's an example:
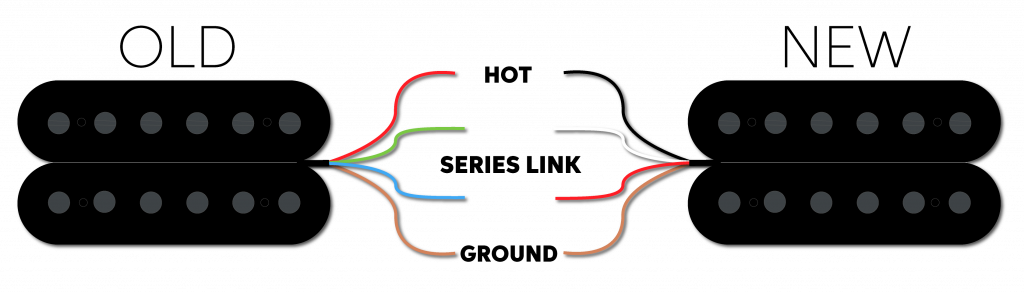
Using your chart, you can now accurately swap your existing pickup wires with the new ones, even though the colors are different. For example, if the hot output was red on the original pickups and it's black on your new ones, you'll solder the black wire where the red one used to be.
The only problem is that you have to remove the original pickup wires before installing new ones, so how are you going to know what went where? The best solution is to take lots of pictures. You need at least one photo of each connection before you remove anything. After you've disconnected each of the pickup wires, you're ready to start installing the new pickup.
- Double-check your pictures before removing any wires.
- Use zip ties or alligator clips to hold wires out of the way.
- Leave pickup wires as long as you can so you can reinstall them or upgrade a different guitar later.
- For Les Pauls, tie some fishing line to the end of your pickup wires to guide the new ones back through the body more easily.
- Solder the ground wires (bare or braided on most models) first.
- Check your pictures and charts before and after you solder each wire
- If you need to slide a knob or switch out of the body to solder a wire to it, pay attention to the direction it was facing when it came out of the body –getting components back in the body can be a chore.
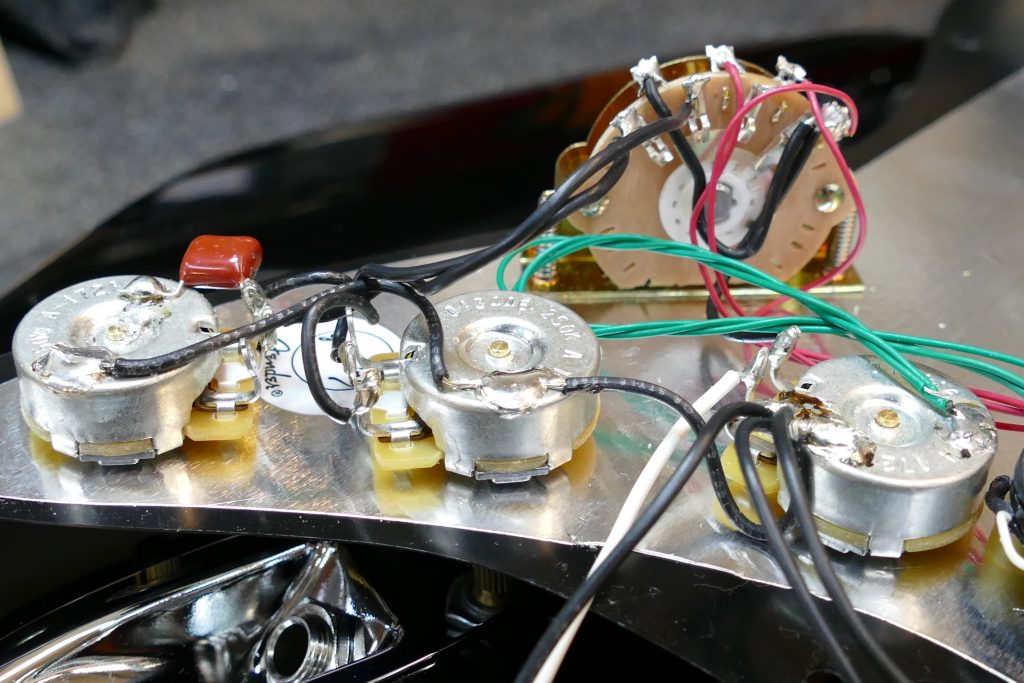
Electronics inside a guitar.
The second guitar pickup installation method is to find a wiring diagram that matches your guitar and new pickups and then rewire your electronics to match the diagram. Rewiring everything from scratch sounds daunting, but it takes all the guesswork out of it. As long as you have a diagram that matches your guitar, all you have to do is wire it exactly as the diagram shows.
The first and most crucial step in this process is to find the right wiring diagram. Brands like Seymour Duncan and Dimarzio make this easy with their wiring diagram selectors. All you have to do is enter some info about your guitar, and they'll give you some wiring options. Pay special attention to the number of connections on each knob and switch in the diagram. As long as your diagram shows the same amount of connections as what is in your guitar, that diagram will work. Once you've decided on a diagram, you can start removing all the solder and wiring.
- Leave the old pickup wires long enough so you can reinstall them or use them in another guitar someday.
- Use solder wick and clean up any blobs of solder on the jack or the sides of the pots.
- Remove pots and jacks one at a time, so you know they're going back in the right spot.
A successful upgrade is all about the prep. There's a lot of stuff in a small space, so before you solder yourself in a corner, plan out the order that you'll solder each connection and write it on the back of your wiring diagram. The goal is to solder each connection without burning any wires and still get everything back into the body of the guitar.
After installing the pots, switches, and jack, you can move on to your first pickup. Leave the wires a little long at first. Running them the long way around the pickup helps use up slack and still keeps everything looking neat and tidy. Plus, you can always go back and trim the wires after you know everything is working.
Follow this same process for any remaining pickups. Once all of your pickups are soldered into place, double-check each connection on your wiring diagram. Check off each connection until they are all crossed off, and you're sure they are all correct. Then, look through the body, make sure all your solder joints are shiny, trim any wires that might touch one of the other connections, and make sure your wires won't crimp or get jammed against the body. After that, grab a cable and test it out.
Don't be surprised if it isn't quite right on the first try. It usually takes a little fine tuning before you get everything dialed in.
- Install the jack, pots, and switches before the pickups.
- Upgrade one pickup at a time.
- On your diagram, mark each connection as you go so you can keep track of your progress.
- Zip ties, alligator clips, a pair of hemostats, or even bread ties are great for holding unruly wires out of the way while you're soldering.
- Only remove one knob or switch at a time while soldering connections.
Once your guitar pickups are installed, the last thing you'll need to do is set the pickup height. The specs that Fender, Gibson, and other brands publish in the manual or online are good starting points, but the best way to set up the pickup height is to use your ears.
With the pickups close to the published specs, plug the guitar in and listen. Switch between each of the pickup positions and listen again. Is the bridge pickup the same volume as the neck? Are the bass strings louder than the treble? The goal is to find a tone that you like and balance the volume across each position of your pickup selector. Keep experimenting with small adjustments until you find a tone and volume you're happy with.
Related Articles
When you need help, Sweetwater has the answers!
Our knowledge base contains over 28,000 expertly written tech articles that will give you answers and help you get the most out of your gear. Our pro musicians and gear experts update content daily to keep you informed and on your way. Best of all, it's totally FREE, and it's just another reason that you get more at Sweetwater.com.

hemminglikeemence.blogspot.com
Source: https://www.sweetwater.com/sweetcare/articles/how-to-upgrade-guitar-pickups/
Post a Comment for "How Easy is It to Install Pickups"